How to perform domain name resolution for a self-built blog?

Self-built blogs have become an important way for many individuals and businesses to display online content. In order to make the blog more professional and accessible, it is essential to choose a suitable domain name and perform correct domain name resolution. This article will introduce in detail how to perform domain name resolution when building a blog, helping you to set it up smoothly and ensure the normal operation of the blog.
1. Choose a domain name and register
Before performing domain name resolution, you first need to choose and register a domain name. The domain name is the address used by users to access your blog, so it is very important to choose a concise and easy-to-remember domain name. You can register a domain name through domain name registrars such as GoDaddy, Namecheap, Alibaba Cloud, etc. After registration, you will be given the right to manage the domain name.
2. Get DNS server information
The core of domain name resolution lies in the DNS (Domain Name System) server, which converts domain names into IP addresses, allowing users to access your blog through domain names. The following are the steps to obtain and set up DNS server information:
-Choose a hosting provider: Your blog needs a hosting service (Web Hosting), such as Bluehost, SiteGround, or Tencent Cloud. When you purchase a hosting service, you usually get the DNS server address.
-Record DNS information: In the control panel of your hosting provider, find and record the address of the DNS server. This information usually includes the IP address or host name of the primary and backup DNS servers.
3. Configure DNS records for domain names
The key step in domain name resolution is to configure the DNS records for the domain name. Log in to the registrar account where you registered the domain name and find the DNS settings page. The following are common DNS record types and configuration methods:
- A record (Address Record): Point the domain name to the IP address of the hosting provider. This is the most commonly used record type, used to resolve the domain name to the IP address of your blog hosting server. The configuration method is: Add an A record to point the domain name (such as www.yourblog.com) to the IP address provided by your hosting provider.
- CNAME record (Canonical Name Record): Used to point one domain name to another domain name. For example, point a subdomain (such as blog.yourblog.com) to the main domain (such as www.yourblog.com). If you have a subdomain that needs to be configured, you can add a CNAME record.
- MX Record (Mail Exchange Record): If you want to manage email through your domain name, you need to configure MX record. It specifies the mail server address for receiving email. If your blog hosting service provides email service, you need to set up the corresponding MX record.
- TXT Record (Text Record): Used to add various information related to the domain name, such as verifying domain name ownership or preventing spam. Common TXT records include SPF (Sender Policy Framework) records, which are used for mail server verification.
- NS Record (Name Server Record): Points to the DNS server of the domain name, usually provided or set by the domain name registrar. Make sure that the NS record of the domain name matches the DNS server information of your hosting provider.
4. Wait for DNS to take effect
It may take some time for the change of domain name resolution to take effect, which is usually called DNS propagation time. This process may take from a few hours to 48 hours. During this time, the domain name may be unstable, so please be patient.
5. Verification and testing
After the DNS settings are complete, you can verify and test whether the domain name resolution is successful by the following methods:
-Use online tools: You can use DNS query tools (such as MXToolbox, DNS Checker) to check whether the DNS records of the domain name are configured correctly.
-Access the domain name: Enter your domain name in the browser and check whether you can access your blog normally. If you cannot access it, check whether the DNS records are configured correctly and make sure to wait enough time for DNS propagation to complete.
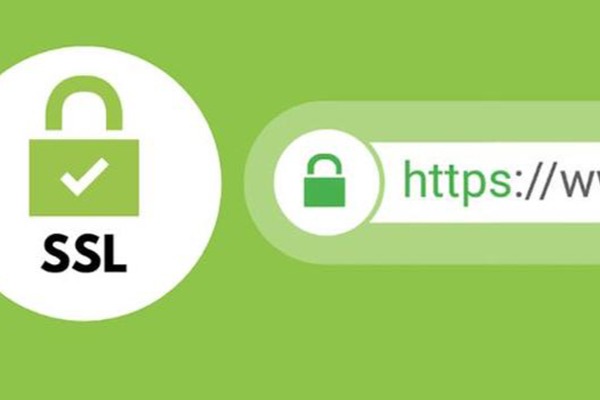
6. Configure SSL certificate (optional)
In order to improve the security and user trust of the website, it is recommended to configure an SSL certificate for your blog so that the website can be accessed through the HTTPS security protocol. Many hosting providers provide free SSL certificates, such as Let’s Encrypt, which you can apply for and install through the control panel of the hosting service.
Summary
Domain name resolution is an important step in the process of building a blog by yourself. It ensures that users can correctly access the blog by entering your domain name. Selecting and registering a suitable domain name, obtaining DNS server information, configuring DNS records, waiting for DNS to take effect, verifying and testing domain name resolution, and configuring SSL certificates are all key steps to ensure the normal operation and security of your blog. Following the above steps can help you successfully complete domain name resolution and improve the professionalism and user experience of your blog.
Domaincn.com Committed to providing fair and transparent reports. This article aims to provide accurate and timely information, but should not be construed as financial or investment advice. Due to the rapidly changing market conditions, we recommend that you verify the information yourself and consult a professional before making any decisions based on this information.